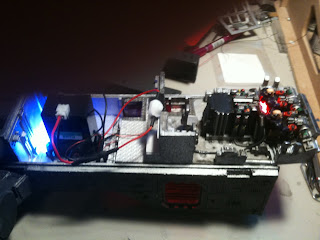
I ordered a Batt box from of all places a Music store. Apparently guitar players convert their acoustic guitars for mics and electric pick ups. That is what this batt box was for.


I had to cut a slot in the bottom of the Thawk to "hide" the batt door. This required some very good Dremil tool work and Dremil saw work. This resin was very thick, and I used a recessed hatch as a guide for the cut. The rest I marked off with a pencil. I had to make sure I got it right the first time since I would not get a second chance.

Once cut I slid the batt box in and test fitted it. and it was a perfect cut.
I used the 4 screws to secure the batt box to the hull and I also used some gap filling glue from the inside around the cut. So this thing ain't coming out with out a fight.

Here is what it looks like on the inside of the hull.Yeah it's big but it's an area that you really can see for the out side when it all put together.

I sodered every thing in parallel , since it was the easiest way for me to do. Also the total number of LEDs was 6 , and I ordered them with the resistors already on them. I used the shrink tubing to tidy up the wires on the inside and to cover up the soder joints.

This is it all buttoned up. Not the cleanest install but it works just look....

In this pict you can see the on/off switch... I'll show you in a later post how I mounted it...


I've progressed much further but I'll save the rest for the next post later this week.

No comments:
Post a Comment